Builders Resource Center

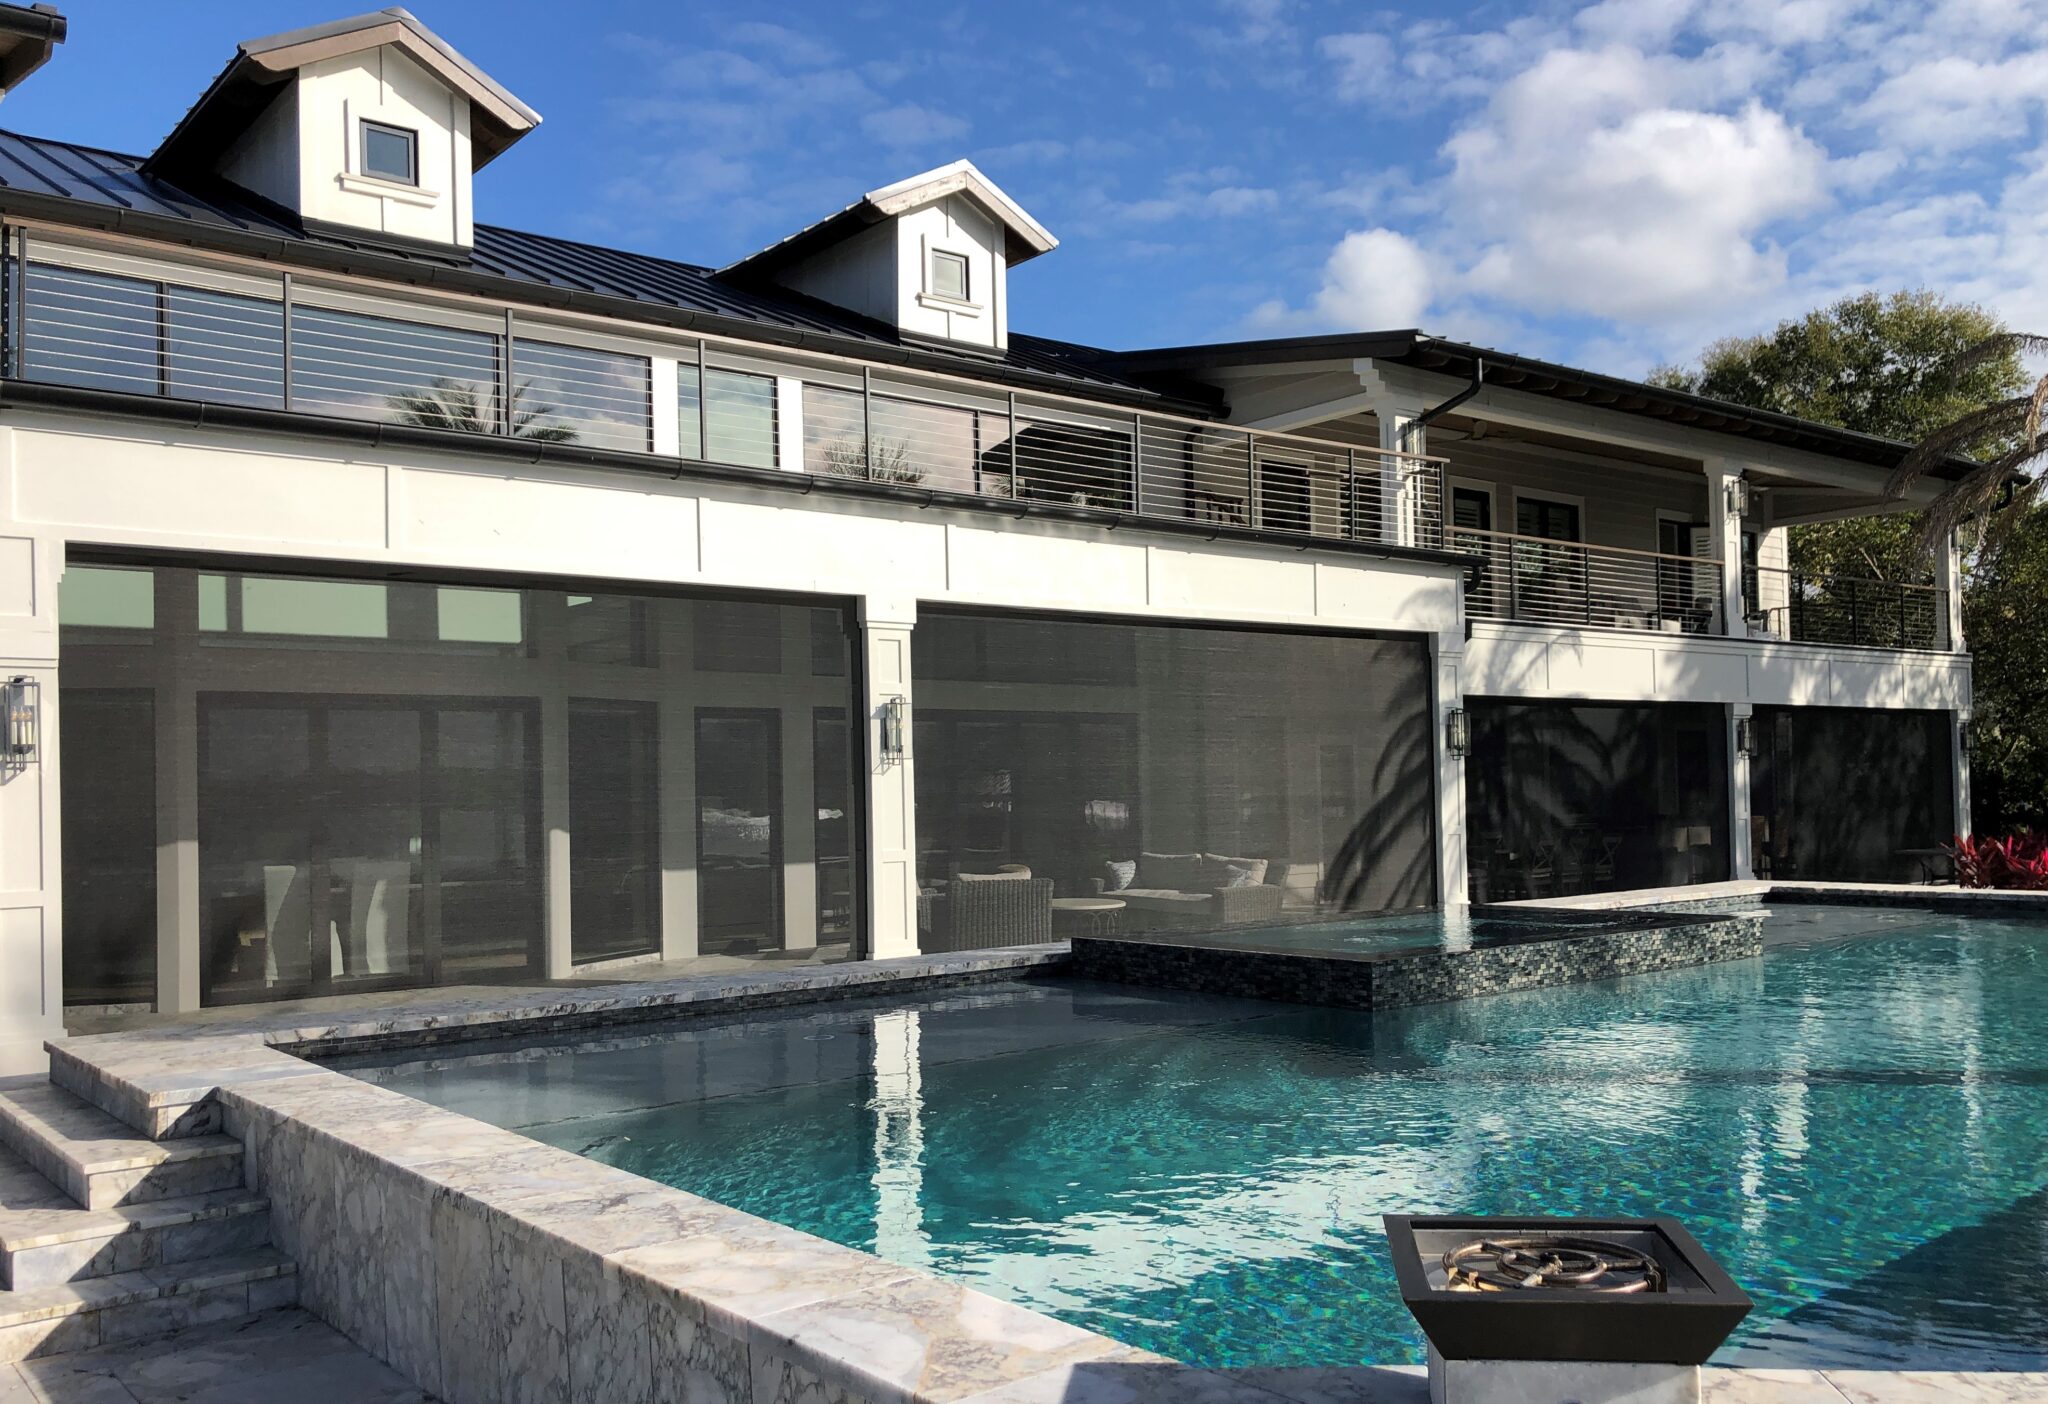
As a builder, you understand the importance of maximizing the living spaces of a home. And, of course, this includes the beautiful outdoor areas that families love.

Roll Screen Solutions has the products, services, and creative solutions your clients will find highly-functional and aesthetically pleasing.

Our Retractable Screens allow families to keep the pesky evening bugs from chasing them inside—giving them the ability to:

Entertain outdoors | Enjoy family time | Open or close the screen at the push of a button

We offer complete support to architects, builders, contractors, and professionals to incorporate our retractable screen products into your design, build, home, or project. We are here every step of the way to provide hands-on assistance in each phase of your new project.  We can handle the role of using quality materials, dedication to our product, customer focused approach, hands-on project consulting and management, professional installation, and the assurance you will have a product support system. Our goal is to ease the hassles of the building process for the homeowner.

What To Expect

Understanding Our 5 Step Process

With years and years of experience, we take pride, and our past track record confirms, that we don’t add work to a builder’s already busy schedule. We pride ourselves in providing a great product with top-notch service delivered on time and installed correctly.

Step 1 – Product Agreement and Consultation

This stage falls at the very beginning of the homebuilding process. Once the Builder/Homeowner has their final set of plans and submits them to a Roll Screen Solutions team member, we can begin the take-off process and return a budget proposal to the builder. The proposal will include which products belong in which openings in specific locations. Once approved by the homeowner – we move to Step 2.

Step 2 – Framing Stage

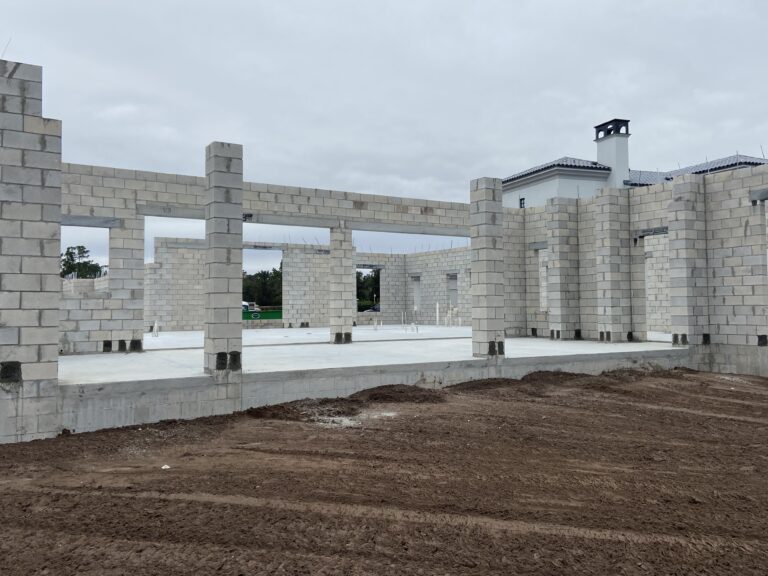
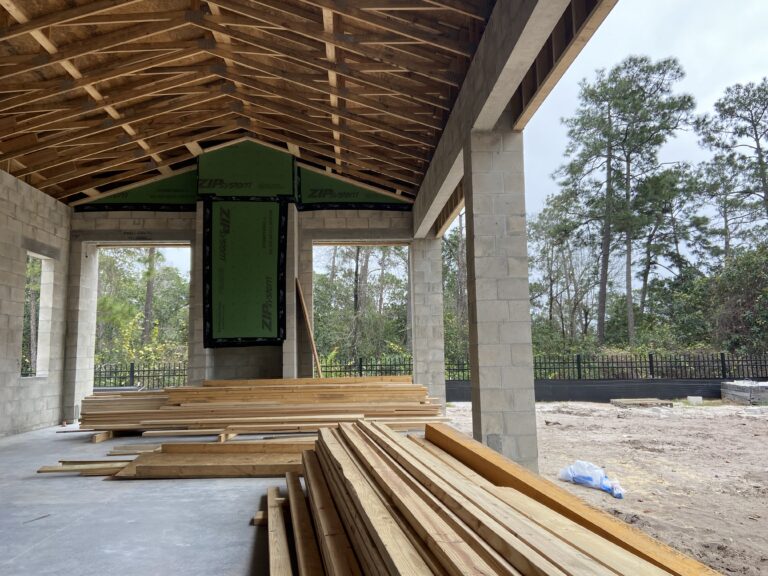
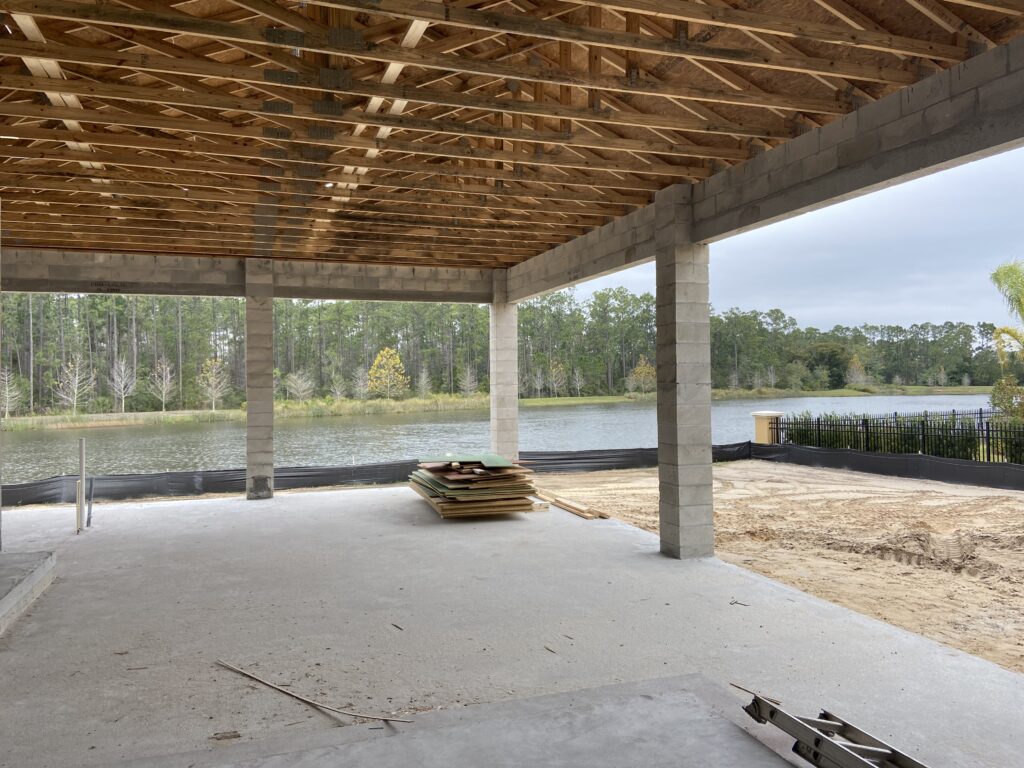
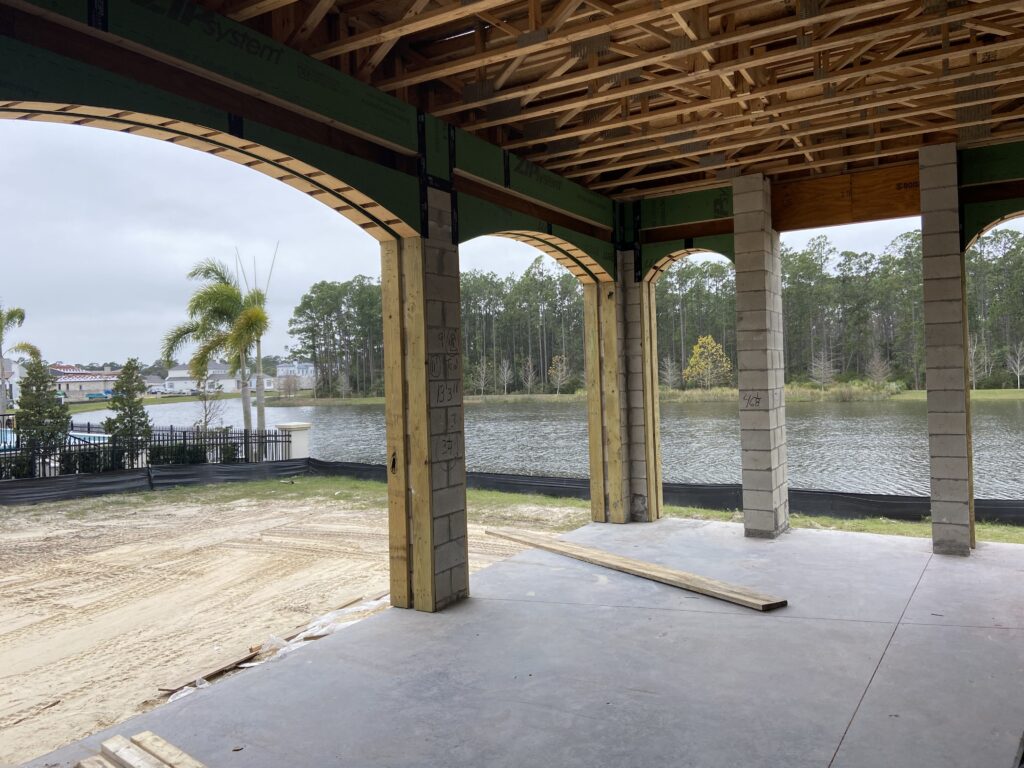
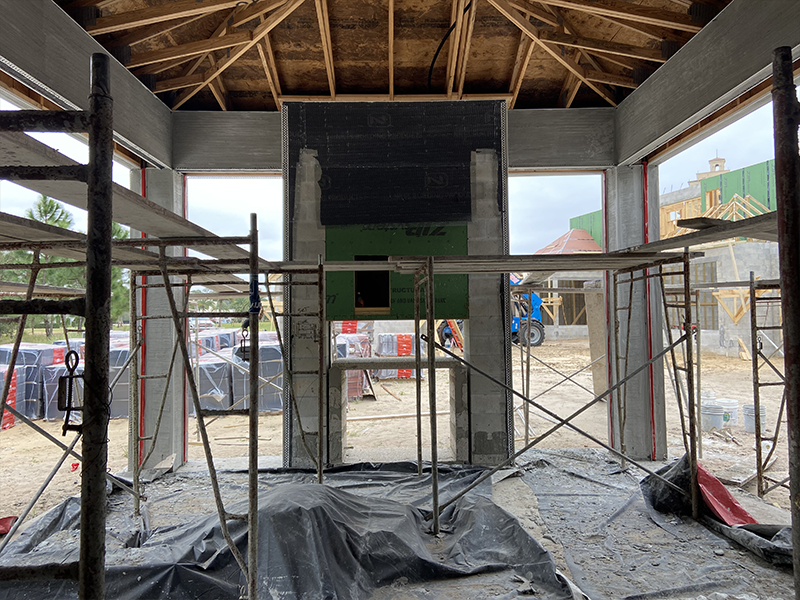
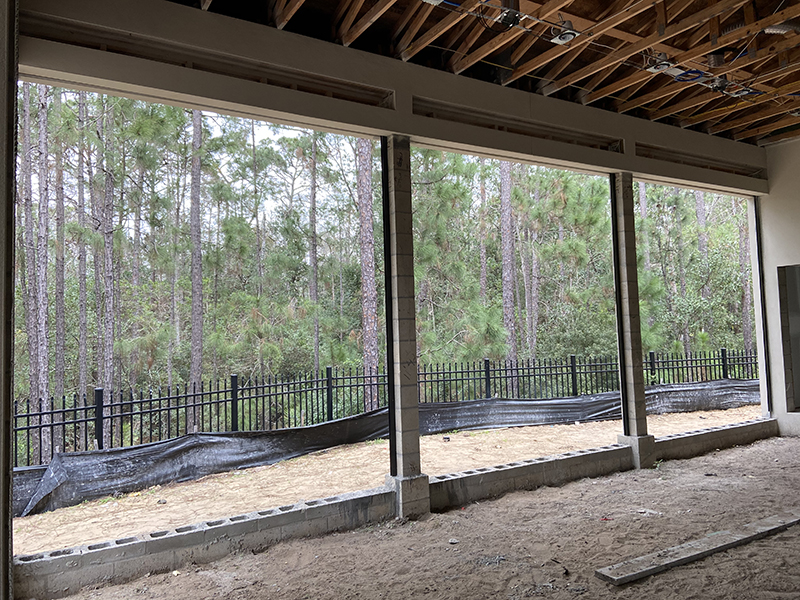
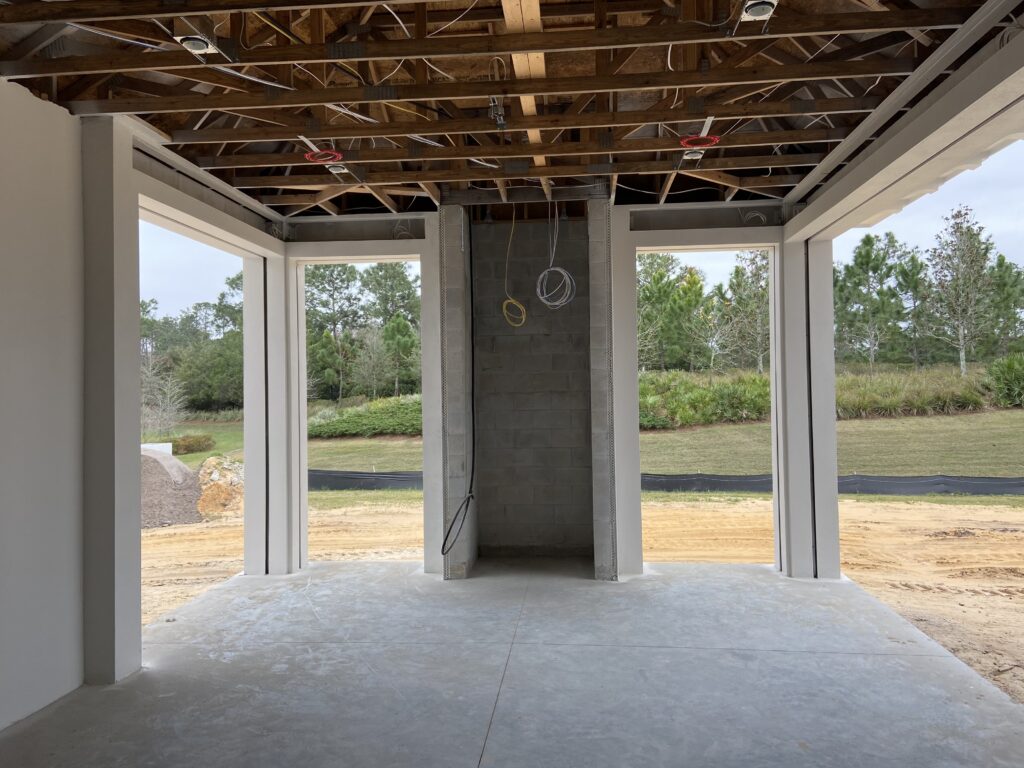
This will entail a job site visit to meet with the builder (if necessary), job superintendent, framer and the electrician. This meeting will discuss the framing needs for recessed screen cavities, and access requirements for the motorized retractable screens. We will also decide where electrical outlets for power are to be placed. See our CAD drawings for the basic layout of the recessed track and bracket system. Please note that every situation is different and may require on-site decisions as to best build the cavity depending on the structural layout.

Step 3 – Installing Recessed Tracks and Brackets

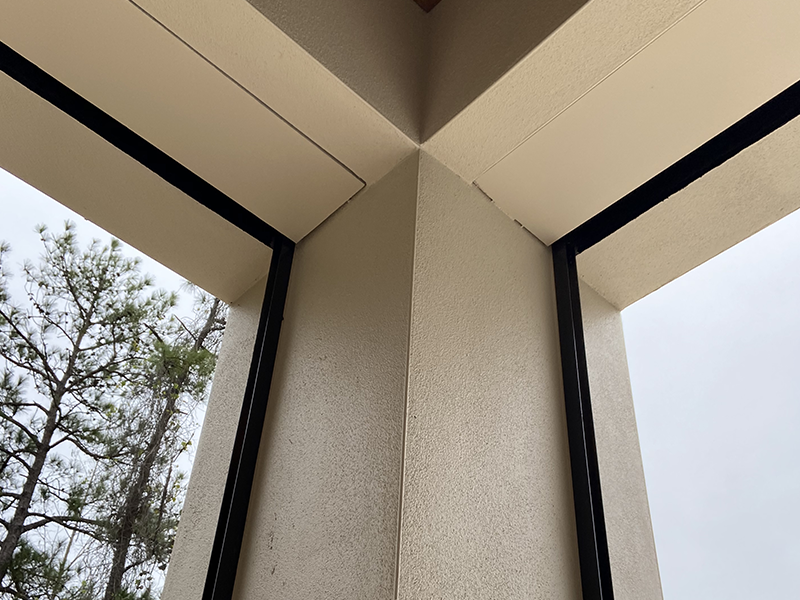
This task takes several hours depending on the number of screens and the complexity of installation. The purpose of the recessed track housing is to allow for the exterior material to be installed flush to the opening which will provide for the track to be recessed into the post. It is completed during the framing stage when headers/LVLs and load bearing posts are in place. Once complete – our job is complete until the final stage.

Step 4 – Final Measurements and Product Ordering

Roughly 3-6 weeks out from completion of the house, our team will obtain final measurements for product ordering purposes. We will need final flooring to be installed so we can get proper floor bias measurements. Our screens are custom manufactured for each opening to insure precise fit and function.

Step 5 – Installation

Once the final preparations are done to the box cavities and final electrical trim work is complete , we will be ready for our screen installation. This process is normally a half to one day process depending on the number of screens to be installed. This process is normally a half to one day process depending on the number of screens to be installed. It involves installing the roller, applying the mesh, fitting the weight bar and all the necessary adjustments for proper installation.

Technical Data Center

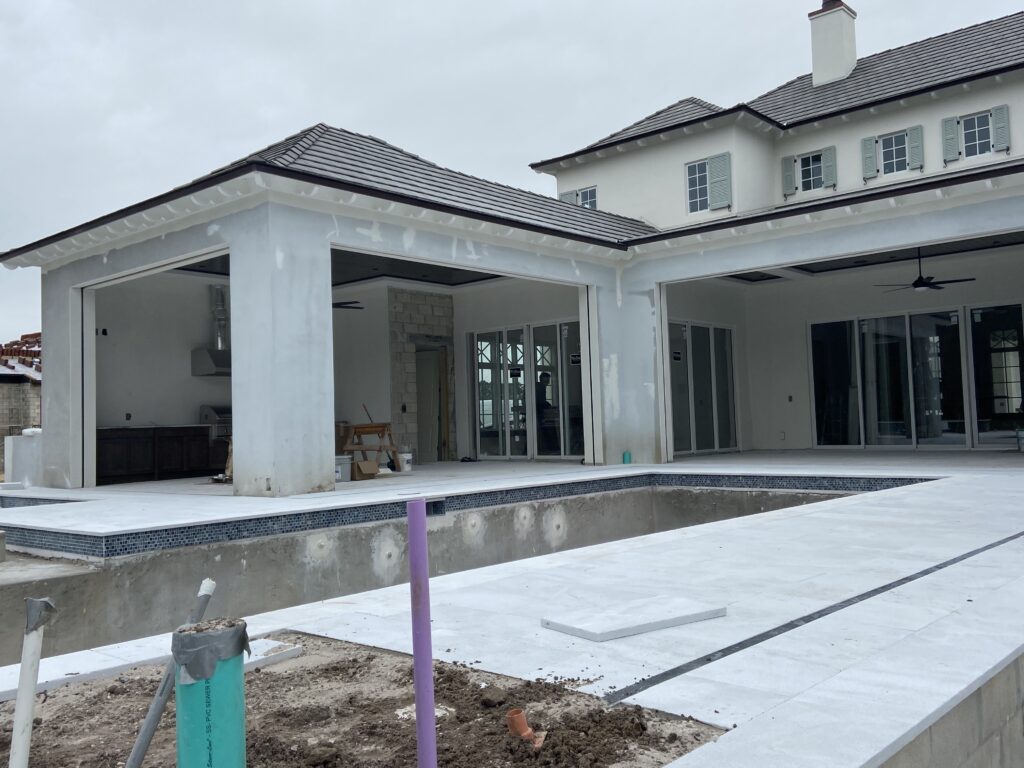
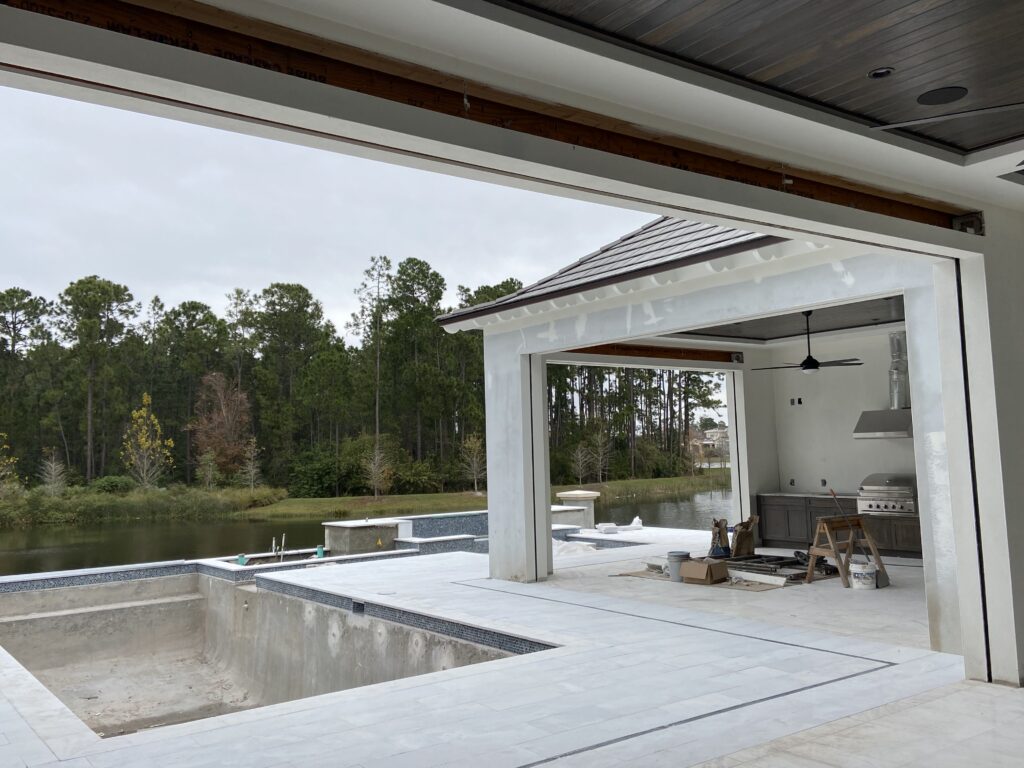
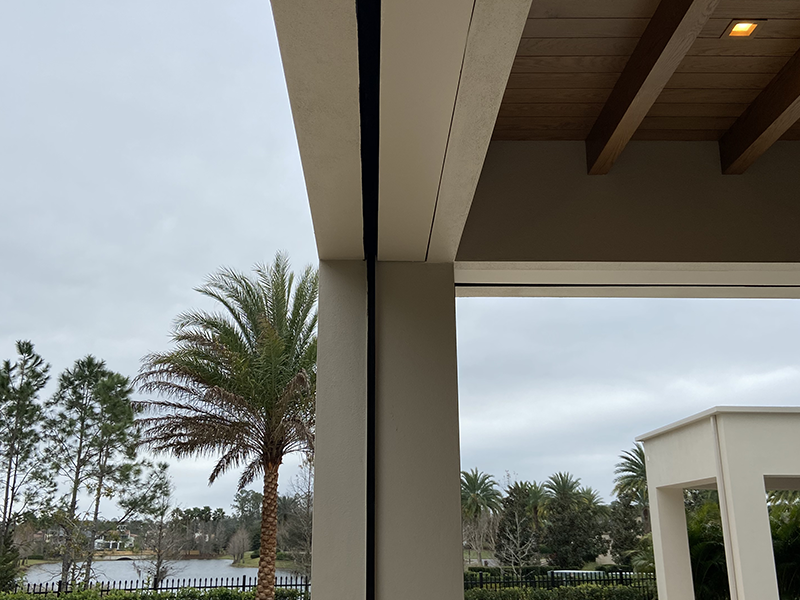
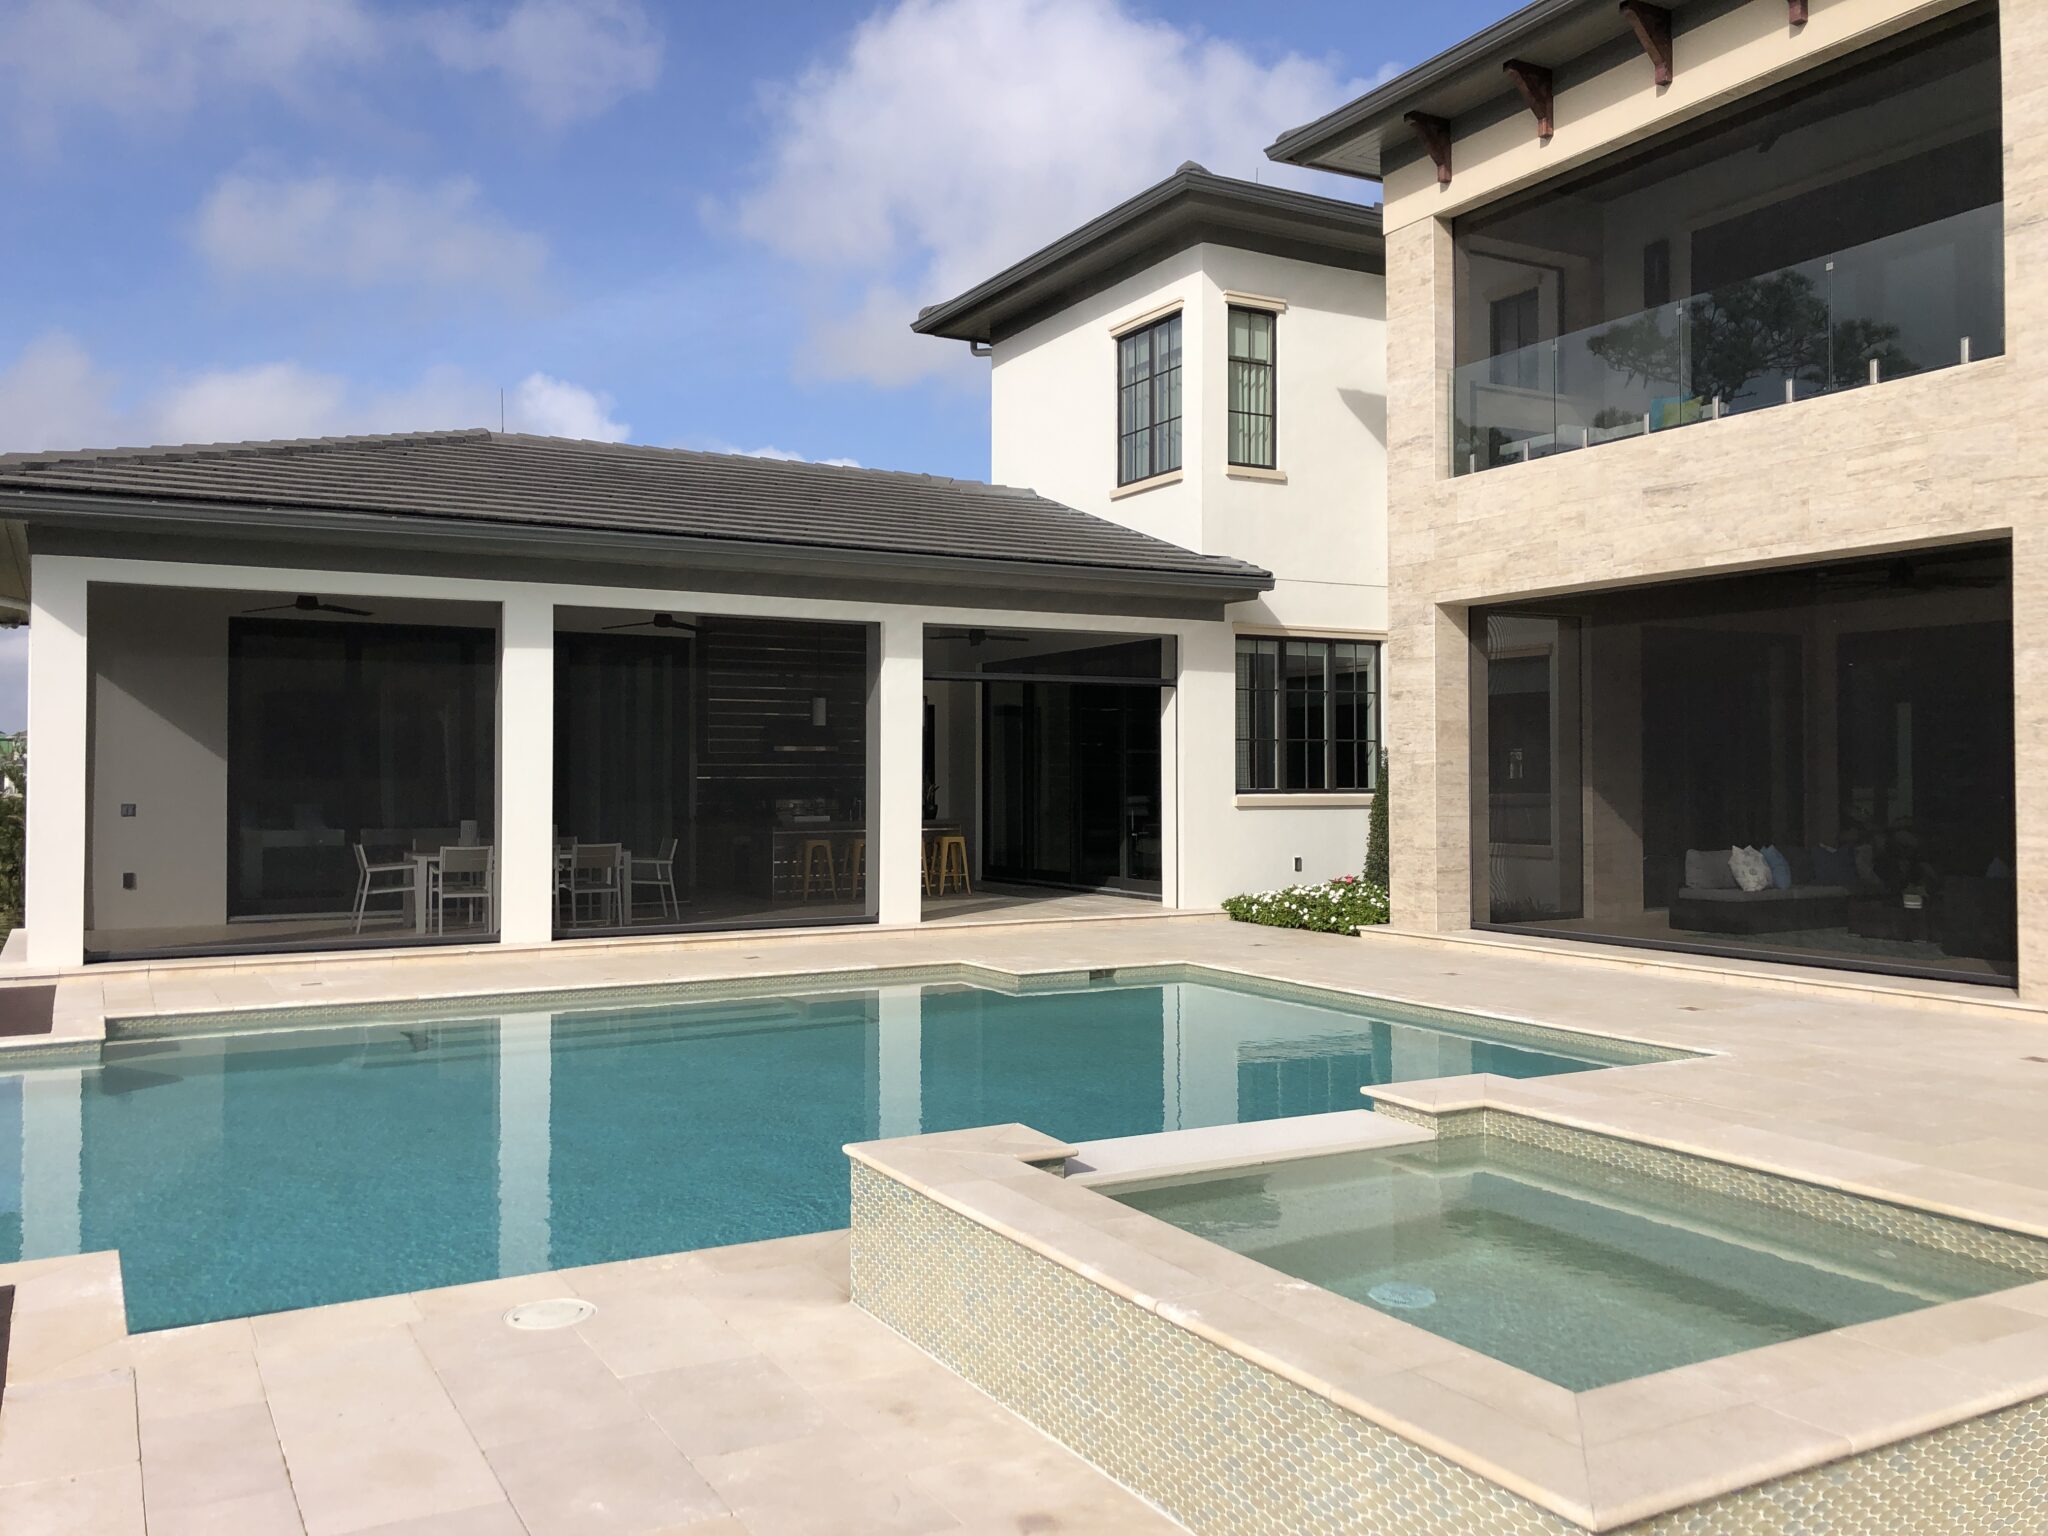
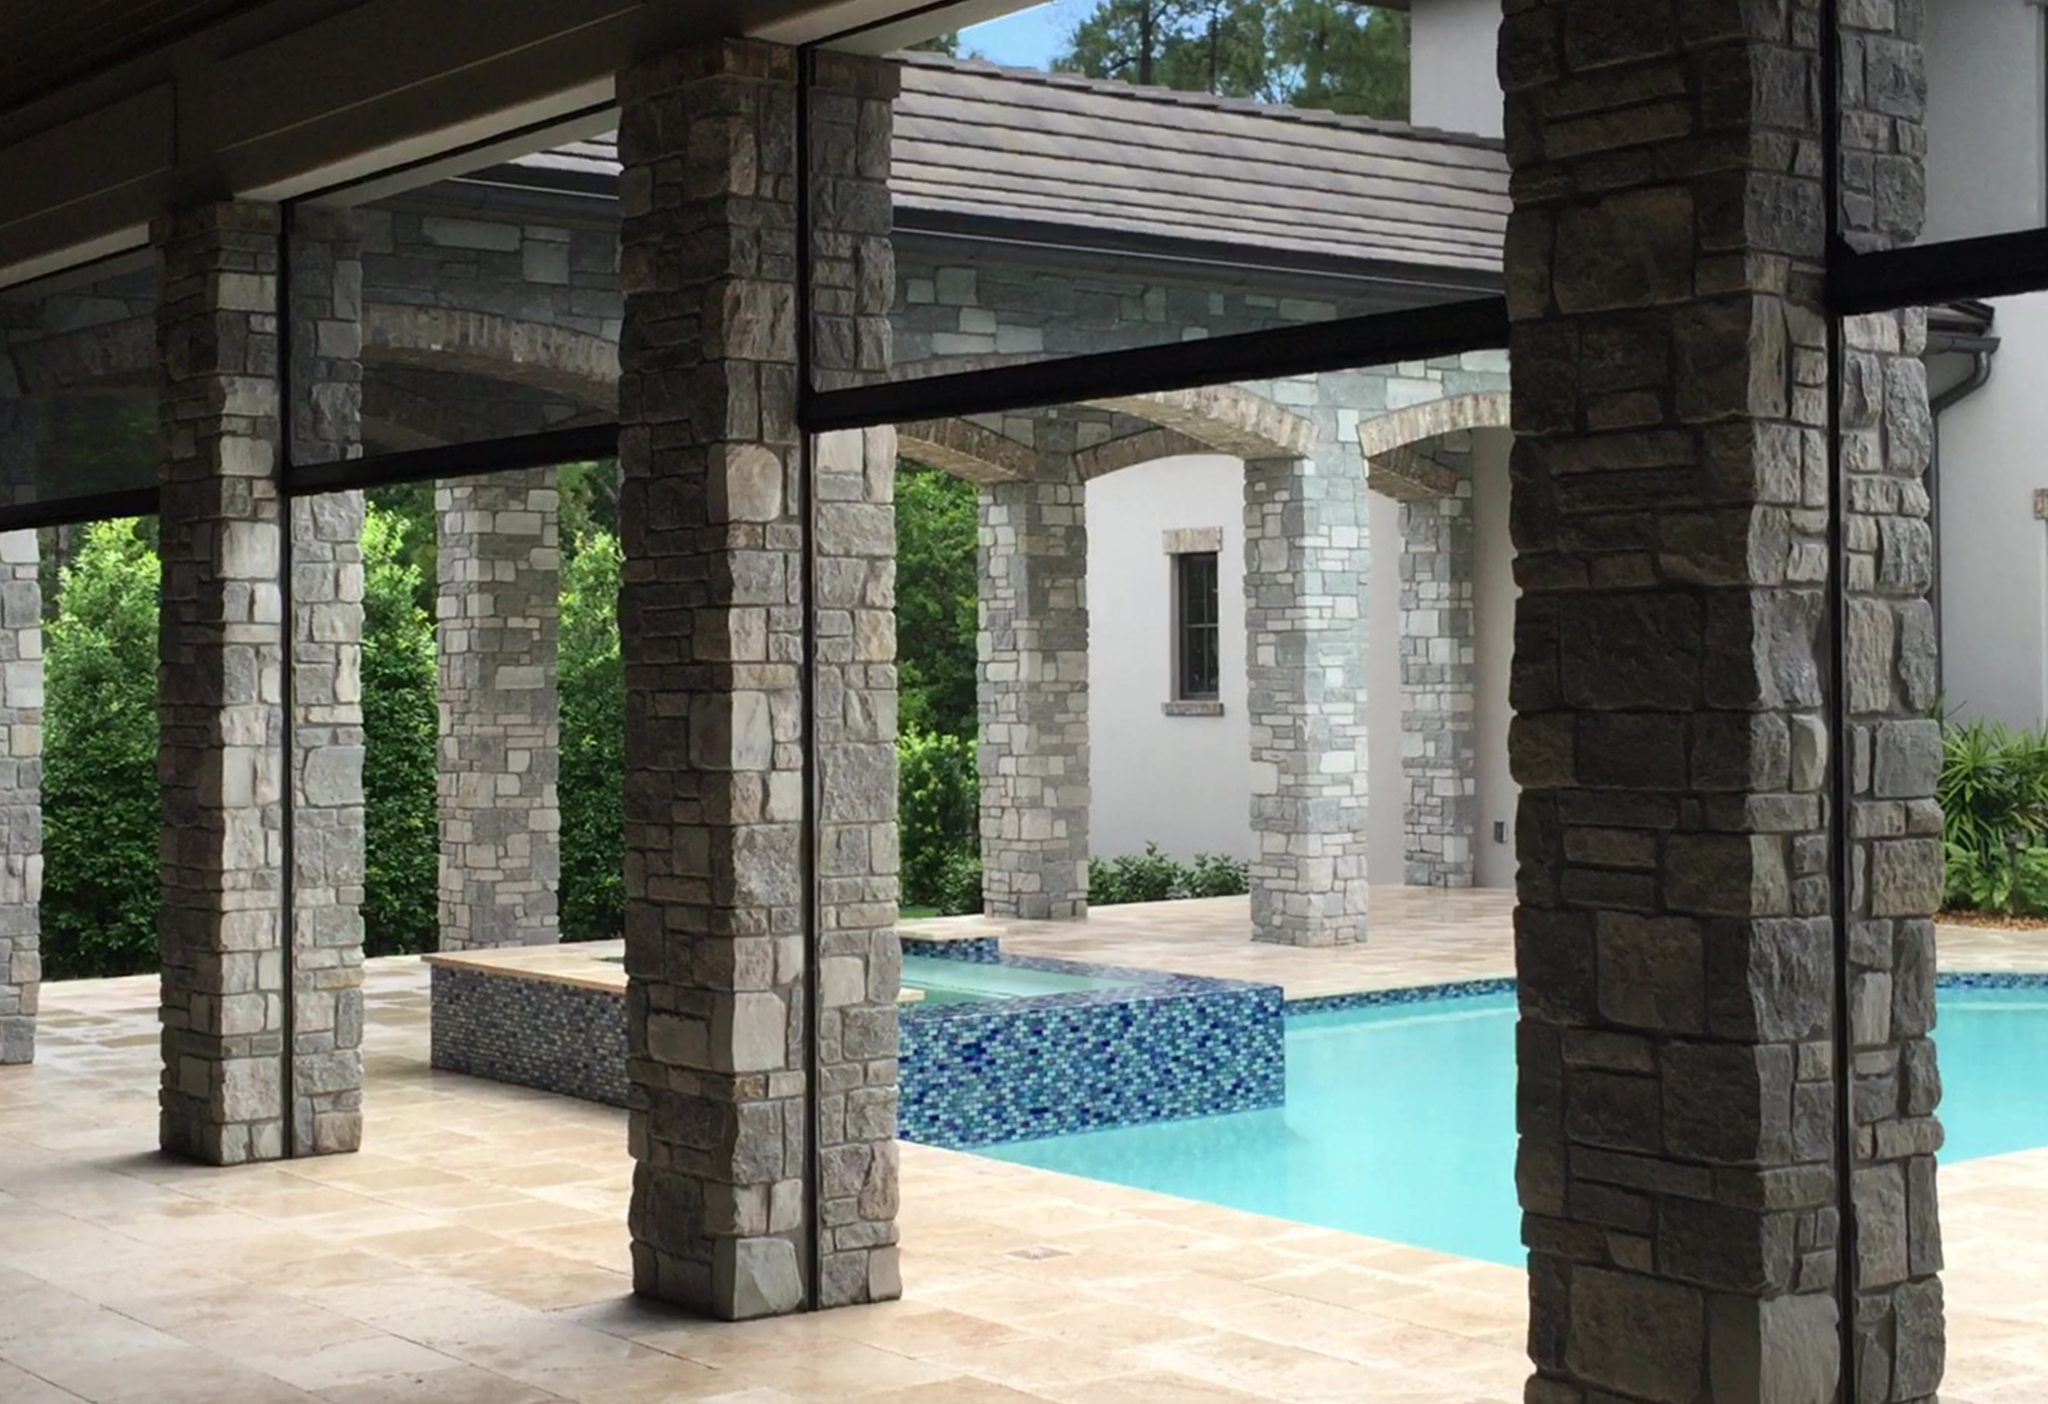
Recessed Retractable Screens are screen units that are designed to have the screen roller unit custom built inside the header cavities and sidetracks built into the columns. This provides the amenity of having the screens down with minimum aluminum showing and when the screens are not in use they nearly disappear.

This design center Q & A section should provide you with the basic design concepts needed to assist you through the process.

Although we do have a generic drawing for cavity size and power outlet locations, experience has determined that there are just too many variables to be able to count on this drawing alone.  (Column type and size, placement of header lintel, type of service access, to name a few.)

Yes, it varies based on the width and height of the unit. Generally, for an installation – you would need a clear minimum 8” wide by 10” tall for units under 20’ wide and 12’ tall.  For units over 20’ wide or over 12’ tall the clear opening needs to be 10’ wide and 12” tall.

There are two types of access panel locations for servicing motorized screens:

Backside Header Access: Removable Panel on the side of the header cavity allowing access from bracket to bracket with no obstruction in front of them. Minimum requirement 8-10 inches depending on roller size.

Under Header Access: Removable Panel on the underside of the header cavity allowing access from bracket to bracket with no obstruction under them. Minimum requirement 8-10 inches depending on roller size.

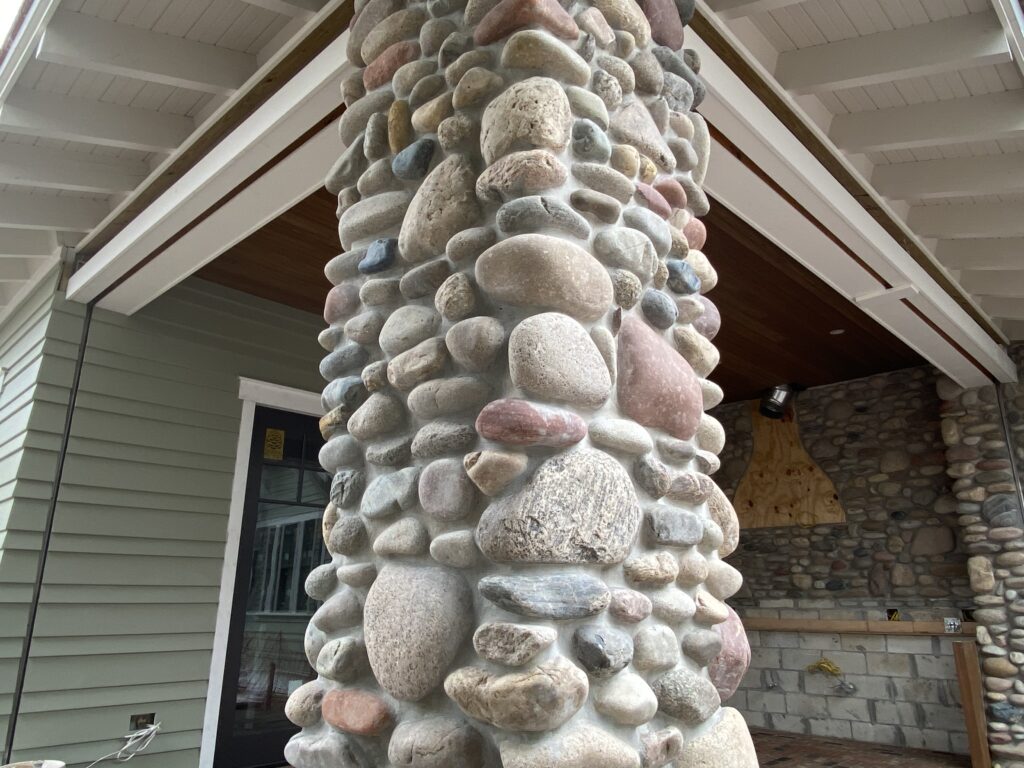
It is preferable for the columns to be square, however they can be round as well.  There will need to be some design considerations when using round columns.  The tracks should run down the center which will offset the header box being built.

The size of the slot should be 2 ¼” wide.  The U-channel side track is 1 3/8” and should be centered in the 2 ¼” opening.

No, each cavity must have an actual power outlet. The cavity must be large enough to mount the power outlet in a place that can be accessed without being in the way of the screen unit operation or in the way of the ability to access and service the unit.

Column bases can be used in either backside header or under header situations.  Slots will need to be cut out wider than the u-channel so the weight bar does not catch as it goes up and down. Column collars cannot be used in under header situations but can be used in backside header access with the same slot rule applied.

The u-channel track is 2 1/8th” deep.  It will need to be designed so the location of the track and bracket are both on the same plane and attached to the column.  It may be necessary to pad out the column to have enough track showing so the finished reveal with match up with the track once the job is complete.

Yes. Our units are usually priced with upgraded Somfy 550 ABS motors with the electrical stop feature built in.  We offer a lower cost option Dooya 50N motor which does not have the auto stop feature and mechanical limits.

Yes. When using our standard insect mesh screen, the height is 132” from the finished floor to the bottom of the finished header.  No-see-um insect mesh and solar mesh screen is generally 120”.  It depends on the specific screen roll with of the screen you wish to use.

No. We can cut a bias in the screen up to 3” to match the floor so there will be a sufficient seal.  The fuzz material on the weight bar can handle some tolerance in the floor to help the seal as well.

Interested in Helping Your Clients Maximize Outdoor Living Spaces?

Roll Screen Solutions will provide consultations and job site meetings (as necessary) throughout the building process for the builder.

Shopping Basket